

You can easily generate a drive time area with multiple parameters and from any location, and visualize on the map the area covered.
Create an isochrone or isodistance
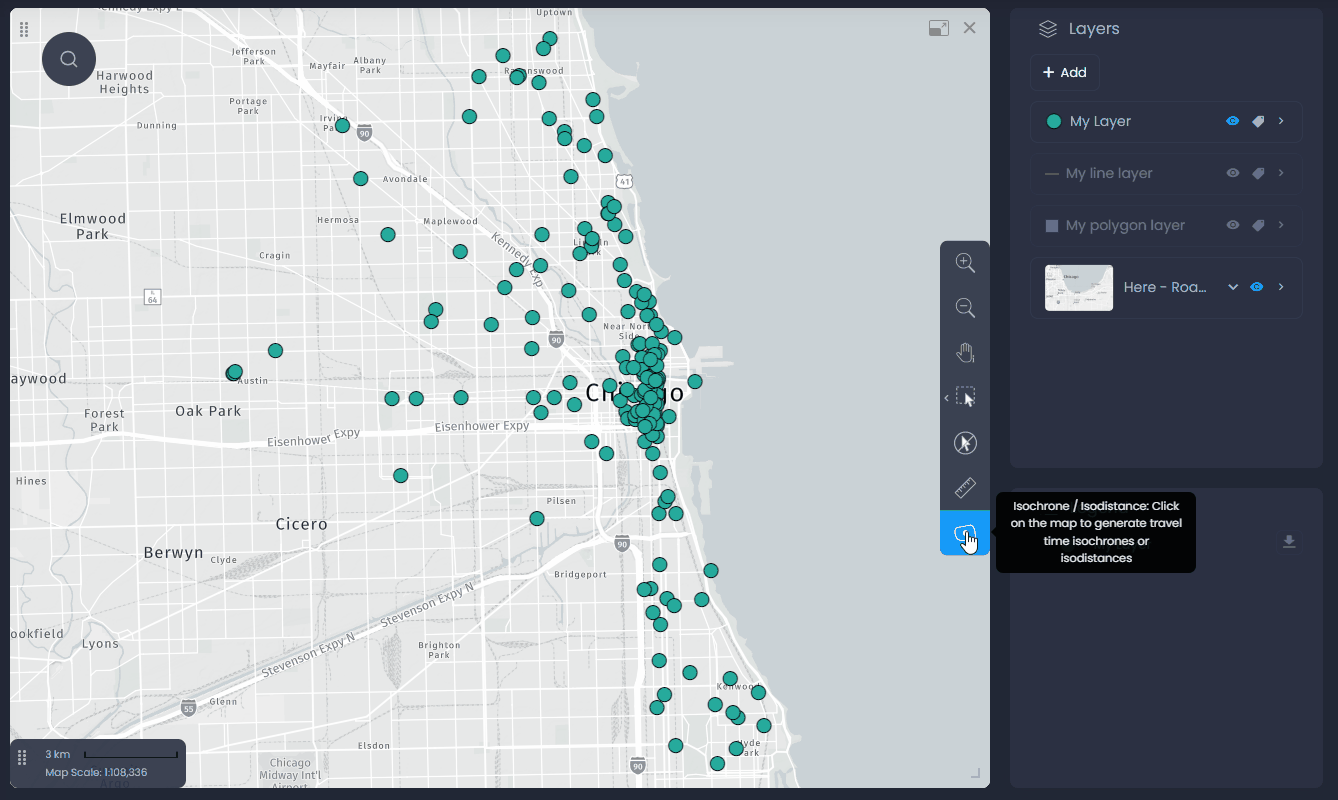
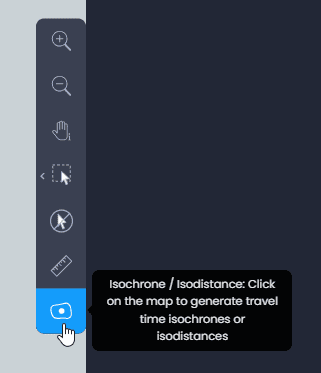
Click on the isochrone tool

from the toolbar to select it:
Click on your departure location on the map to initiate the isochrone creation. Once you’ve clicked, you will see the isochrone/isodistance options:
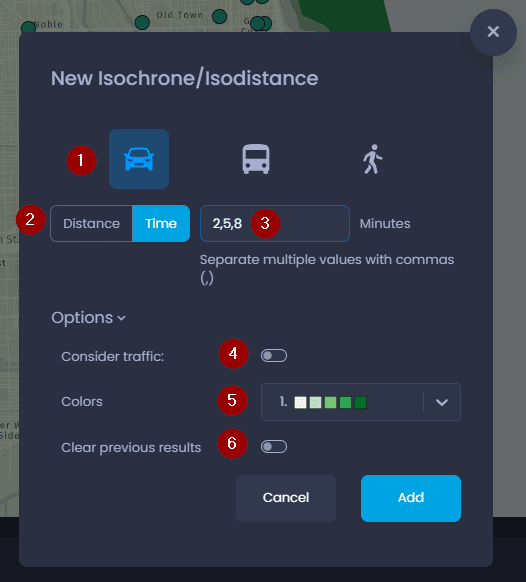
- Choose the means of transport between Car, Truck or Pedestrian
- Choose between a distance type area (isodistance) or a drive time area (isochrone)
- Enter the number of minutes (for isochrones) or kilometres (for isodistances). You can enter multiple values separated by a comma to create multiple areas.
- Toggle traffic on or off
- Choose the color of your isochrones/isodistances
- Choose to keep or clear previously created isochrones/isodistances.
Click “Add“ to validate your choices. Here is what you’ll see on your map:
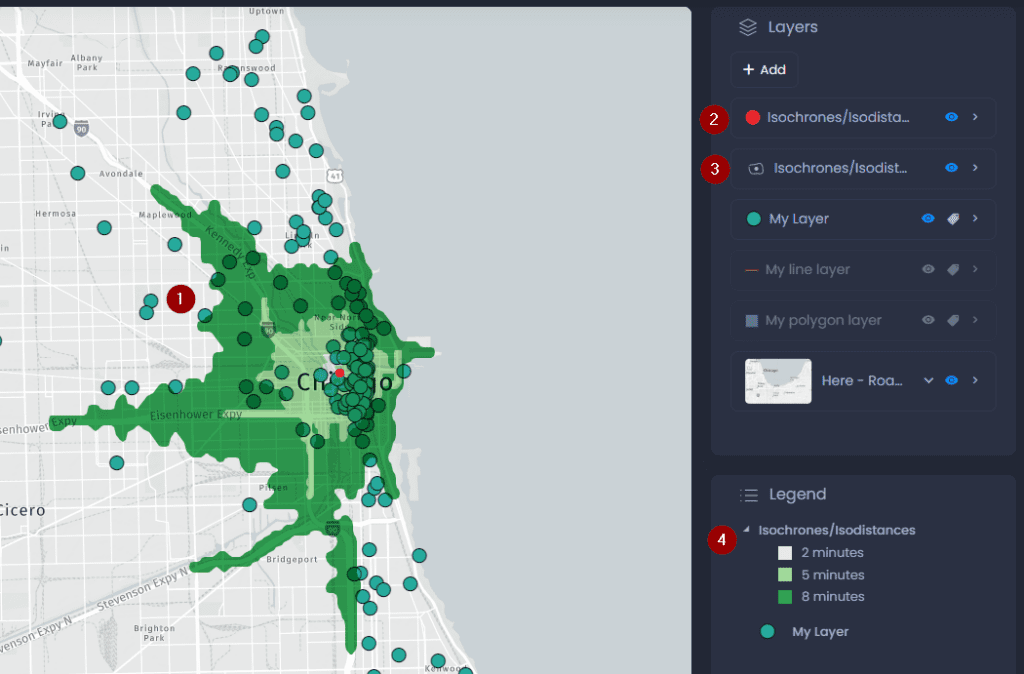
- The isochrones/isodistances are added to the map
- A point layer is added to the Layer control to show the starting point of the isochrone/isodistance, which is the location you clicked on.
- A polygon layer is added to show the isochrone/isodistance polygons.
- The legend shows the isochrone/isodistance layer with the corresponding colors.
Save and use your isochrone or isodistance
Save your slide
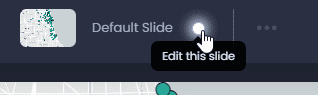
To save your new isochrone, save your changes in the current slide. Switch to the edit mode of your slide if you are not currently editing it:
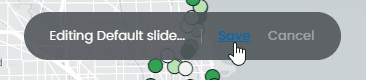
Then, save your changes by clicking “Save” or the green dot in the top bar

:
By saving your slide, all other slide elements will be saved. See what other elements will be saved here.
Select features inside your isochrone or isodistance
You can also use the resulting isochrone or isodistance to select features inside this area. This is can be done with the Spatial Intersection tool. Please refer to our dedicated article.