Layers can be edited directly from a map. Both the geometry (point location, polygon shape, line shape) and the attributes (column values) can be edited.
Map Creators can edit the layers they have edit permissions to. Tiled layers cannot be edited.
Edit data
Edit attributes and geometry from the layer settings
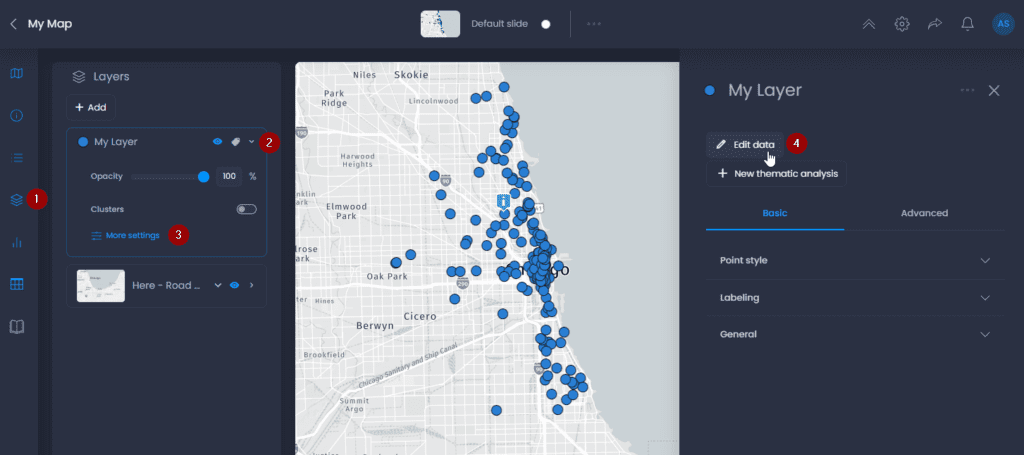
To edit your layer from your map, here are the steps:
- Open the layer control
- Click the down arrow to see the details
- Click on “More settings“
- Click “Edit data“
Here are the actions possible when editing the layer:
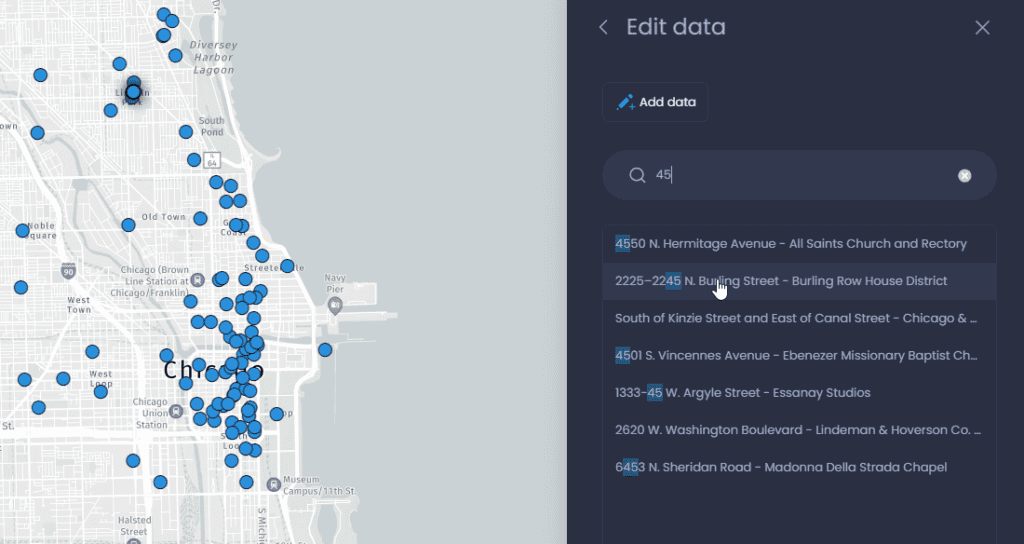
- Click on a feature in the list from the right panel to edit it. Use the search bar to search for a feature in the list. When selecting a feature, the map will zoom to it.
- Click on a feature in the map to edit it
- Click on Add data to add a new feature.
Edit point location
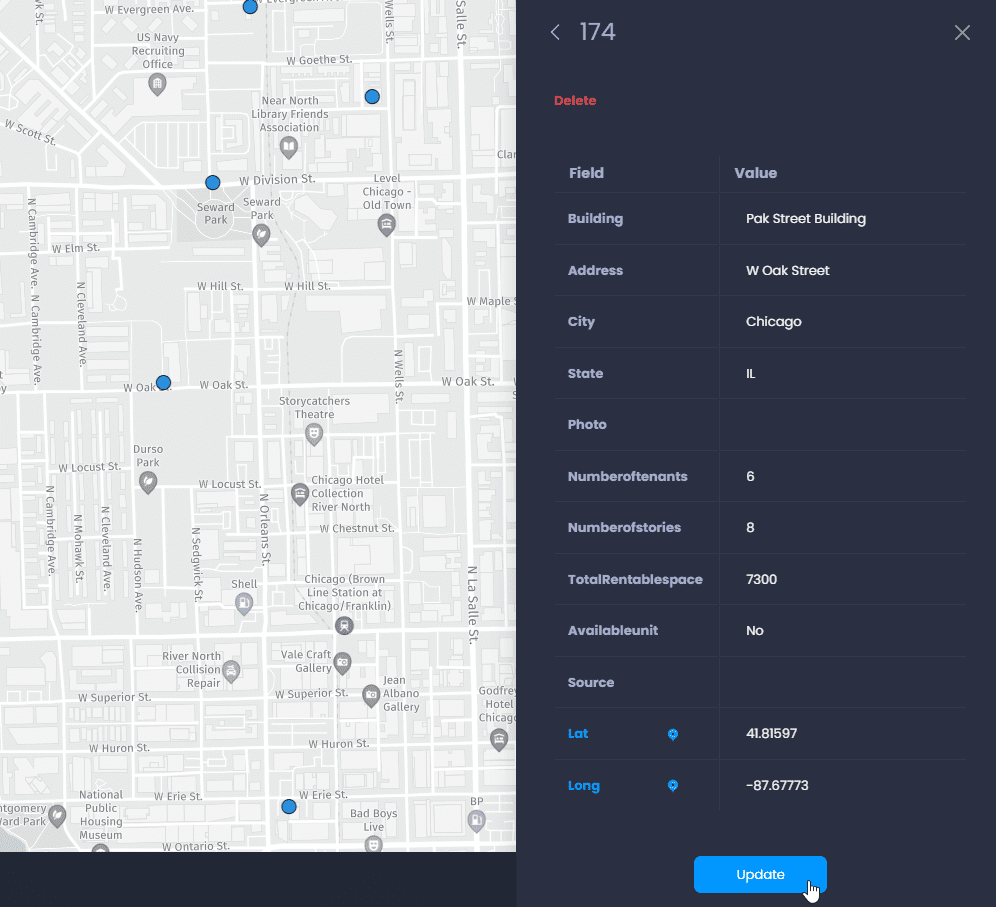
Click on a point in the map or in the list of features to edit a point. You can change its location by dragging and moving the point in the map. You can also change the column values from the right panel.
Click on Update to finalize your edits.
You can also click Delete or

to delete the point.
If your layer has been created using latitude and longitude columns, the values of these location columns will be updated based on the new location of the map. You can also edit the latitude and longitude values in the right panel which will move the point on the map.
Edit polygon or line shape
When editing a polygon, you can resize, move or rotate the existing shape. You can also use

to edit the vertex (points) of the shape. Drag the white squares to move a vertex, or click on the back dot to add a new vertex:
When editing a line, the same actions are possible:
Edit attributes from the Info panel
You can also edit a feature from the Info panel. Use

or

to on a feature to open the Info panel. From the panel, click on

to edit the selected feature.
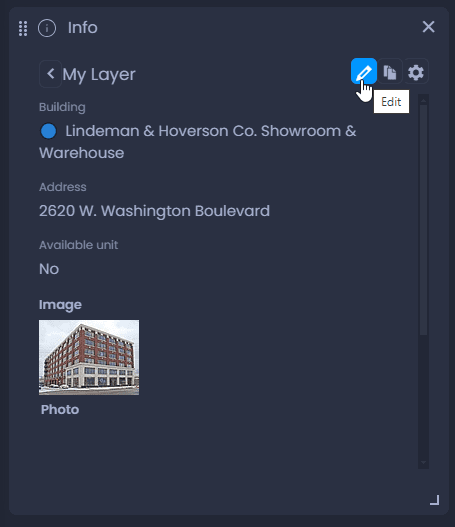
Please note that you cannot edit the geometry (location) of the feature from this menu.
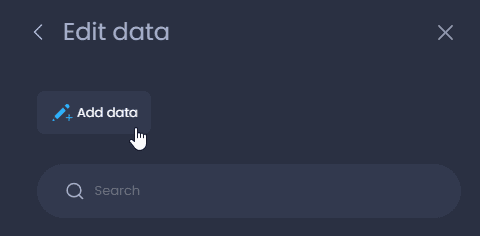
Add a new feature
You can also create new features to add them to your layer. Click “Add Data” to add a new feature.
Add a new point
To add a new point, you can either enter an address to create a point at that location or click on the map to define the location with “Click to draw“.
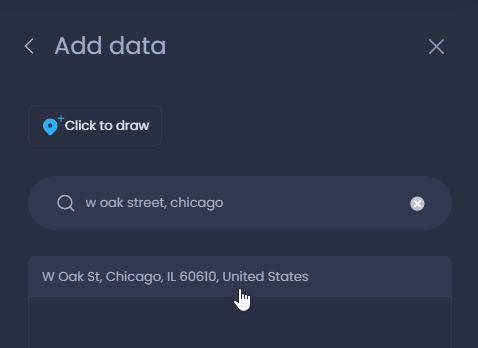
Then, the map is zoomed in to the defined location, and you can fill in the attributes:
Add a new polygon
When adding a new polygon, click on the draw the first vertice, then click again to add a new vertice, and double-click to add the last one. You can then fill in the attributes and click “Add“:
Add a new line
When adding a new line, click on the draw the first vertice, then click again to add a new vertice, and double-click to add the last one. You can then fill in the attributes and click “Add“: