Supported formats
Here is the list of supported formats by CartoVista. In this article, we’ll focus on raster data.
| Type | Format | Extension |
|---|---|---|
| Vector | ESRI Shapefile | .ZIP |
| MapInfo Tables | .ZIP | |
| KML file | .ZIP | |
| SpatiaLite (.sqlite, .db3) | .ZIP | |
| Geopackage | .ZIP | |
| GeoJSON | .geojson | |
| PIX | .ZIP | |
| GPX | .ZIP | |
| Tabular Data | Excel | .XLSX / .XLS |
| CSV | .CSV | |
| Raster Data | Tagged Image File Format | .TIFF / .TIF |
Add data to your Data Gallery
Drag and drop or select your file
Navigate to the Data Gallery, drag and drop your file to the drop zone, or click on “Browse files” to select your file from your File Explorer.
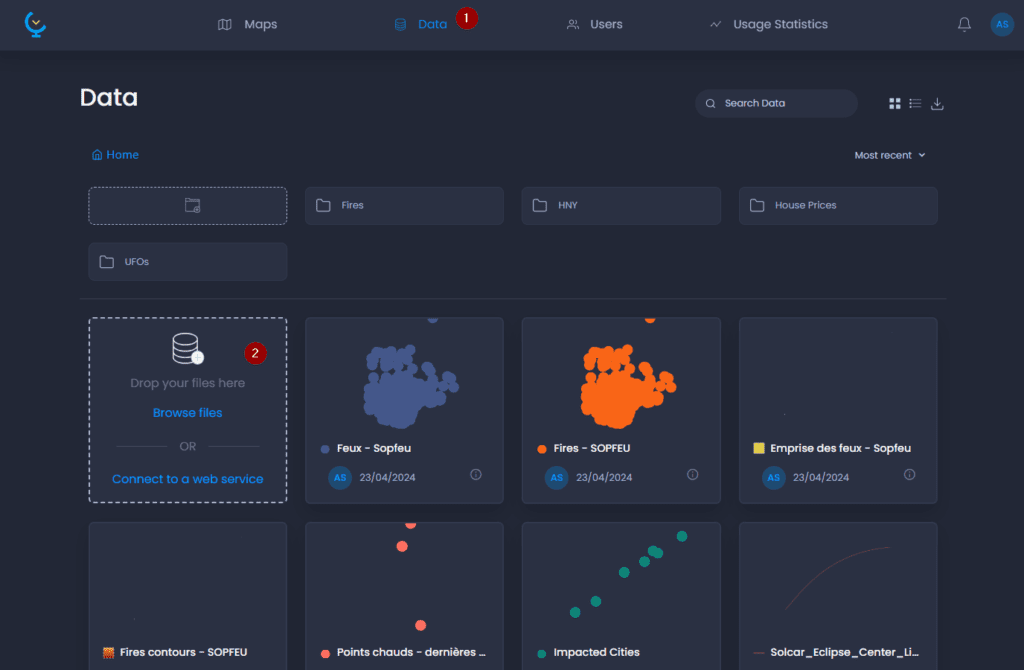
A pop-up window shows you the process of the layer upload.
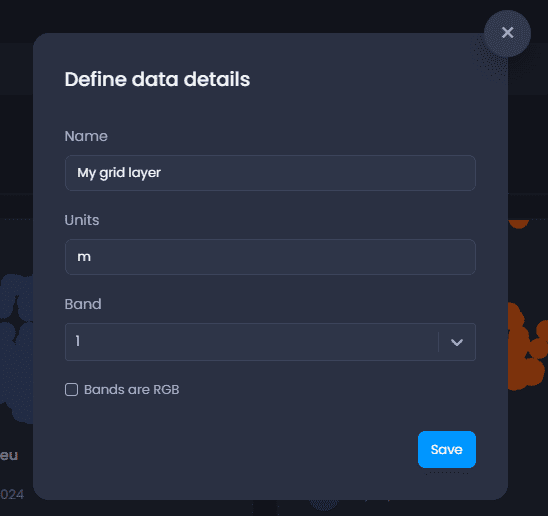
Set layer properties
Once the upload is completed, the next step will allow you to:
- Rename your layer
- Add a unit (for non-RGB files)
- Select the band to be imported (if your file is non-RGB and has multiple bands)
- If the file is RGB, make sure the checkbox “Bands are RGB” is checked. This will allow you to select a parameter for “RGB values conversion”:
- None: if your file has values ranging from 0 to 255, select this option. Values will remain as they are.
- Scale using min/max values: if your values exceed the range of 0,255, select this option to scale the values from 0 to 255.
- Scale using cumulative count cut: if your values exceed the range of 0,255 with extreme min/max values to be ignored, select this option to scale the values from 0 to 255. Values outside the percentage range will be automatically set to 0 or 255 respectively.
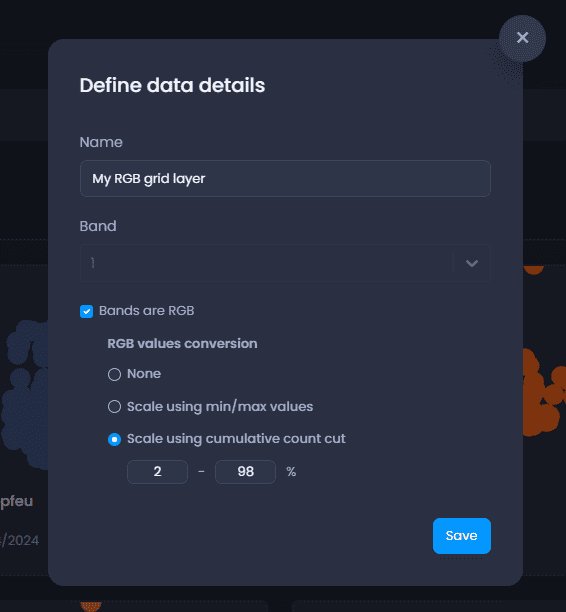
Click Save to validate the settings.
Result
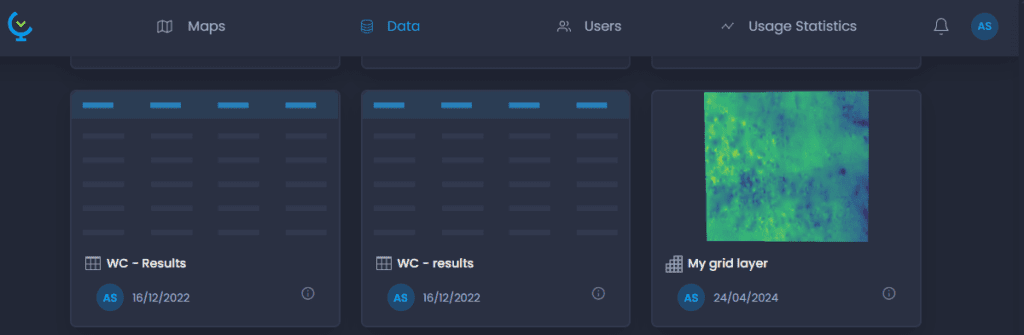
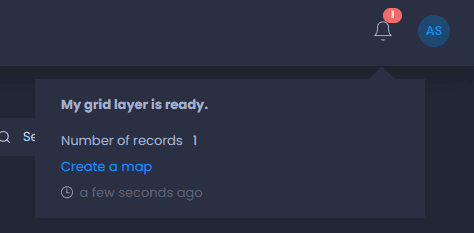
Your layer will be imported and added to the Data Gallery. The notification will inform you of the progress of the layer import. Once the layer has been successfully imported, the notification will allow you to create a map using this layer:
The layer will be added with a default layer style and a preview in the Data Gallery, in the folder you were in. Grid layers are displayed after vector layers and data tables, scroll down if you don’t see your layer!