Create a map
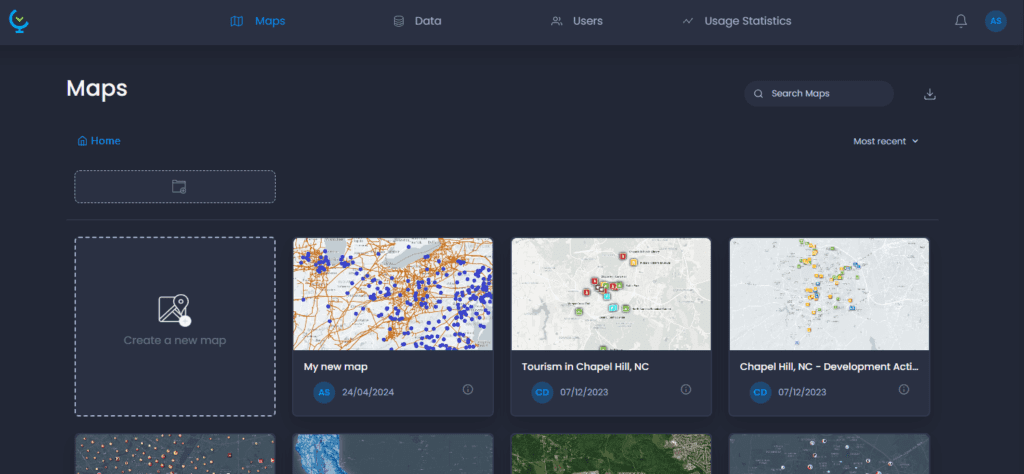
Navigate to the Map Gallery and click on “Create a new map”:
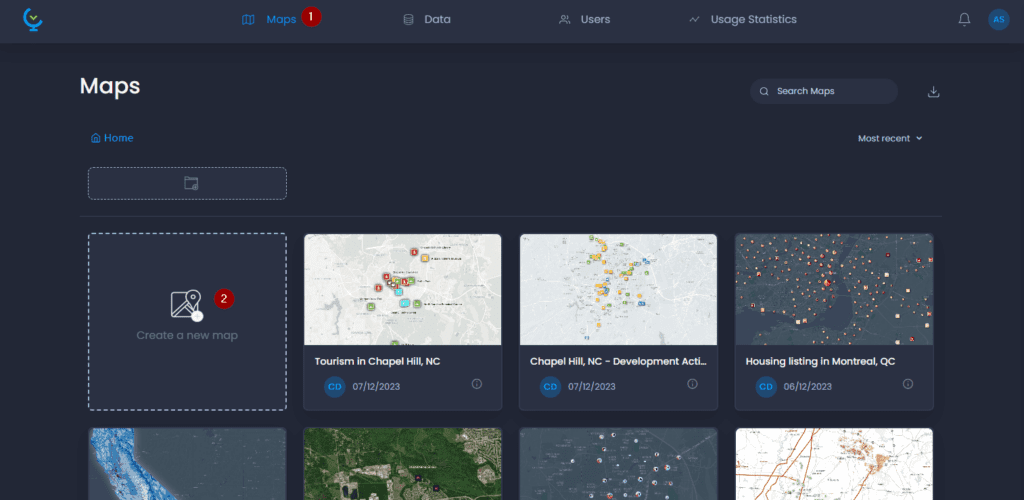
A map is created and the page is reloaded to display the new map.
Add data
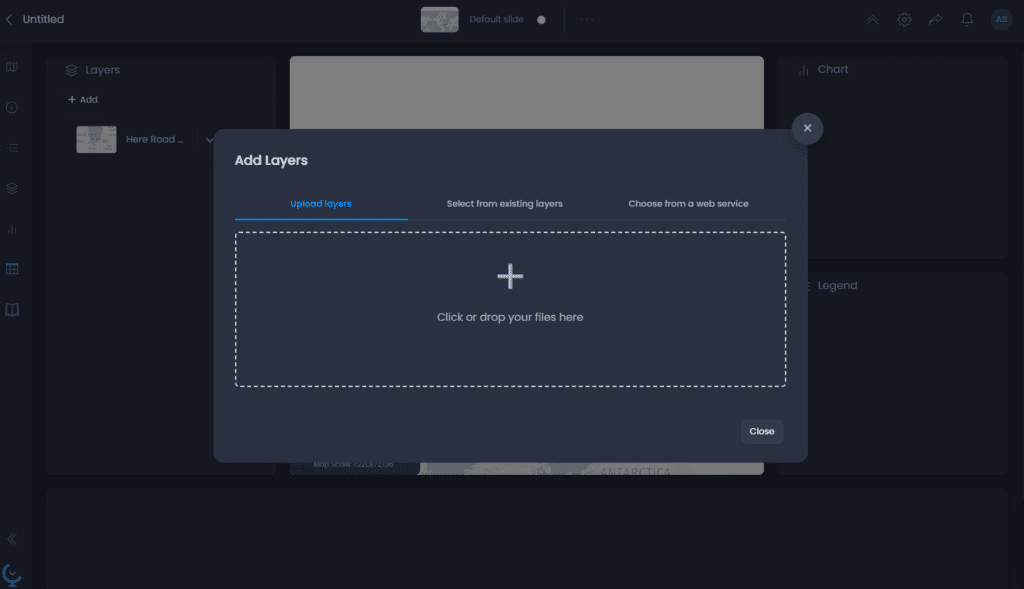
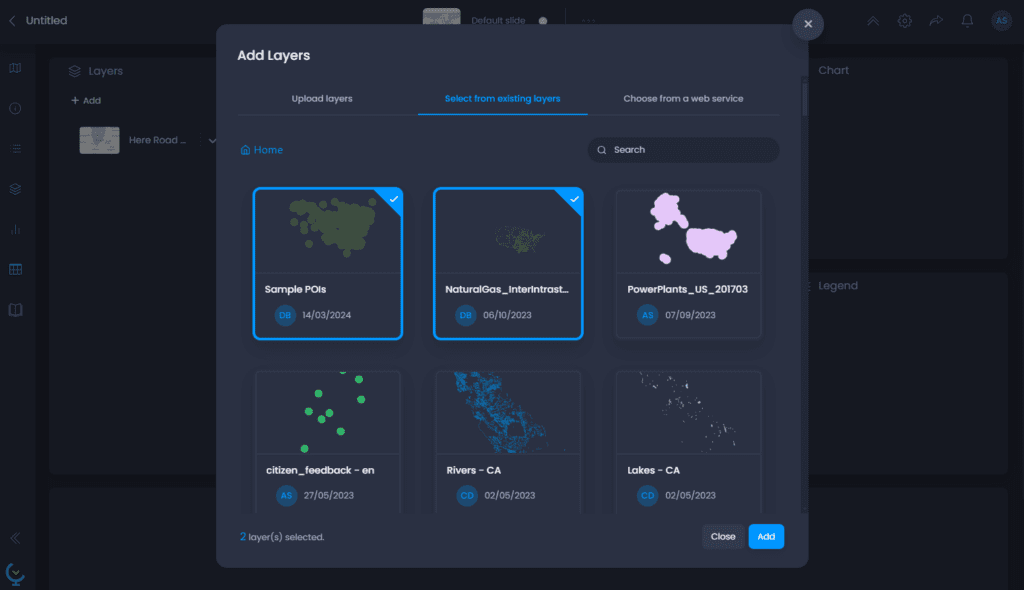
Once the map has been loaded, a pop-up window will allow you to start adding data to your map. There are 3 options:
- Upload layers: select a local file on your computer to import new data into the platform. Read our articles on how to import
- Select from existing layers: if data has already been imported into your workspace, or if you would like to use our demo data, select this option to display the data gallery and choose one or more layers. You can use the Search tool or browse your folders to find a layer.
- Choose from a web service: select this option to import a layer from an ArcGIS feature service, a WMS or tile service, or a WMS service. Our dedicated article is in preparation.
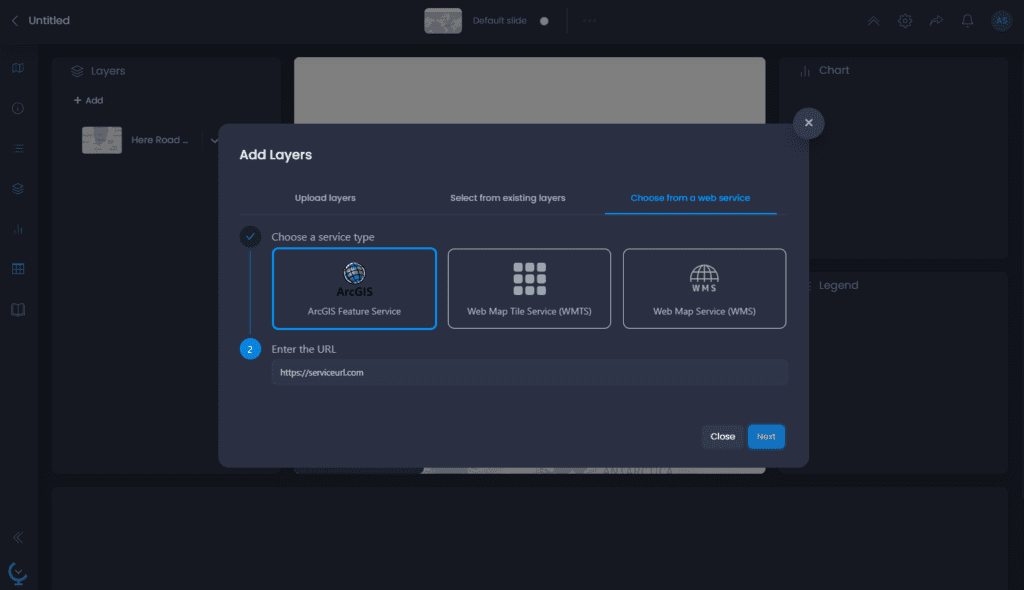
Choose the option that suits you best for adding your data, and click Next. You can also close this add data window if you wish to add data later.
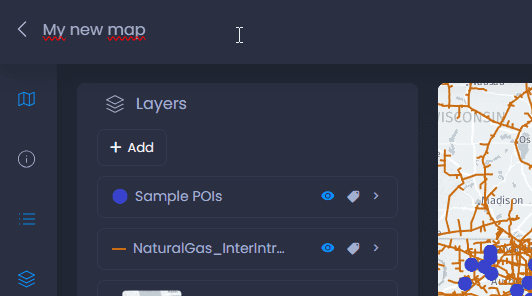
By default, your map will be named after the layers added to the map. To change the title of your new map, click on the current title in the top left-hand corner and type in the new name.
Result
Your new map is added to your Map Gallery.